To upgrade our medieval-esque camping setup, I decided to build a set of breakdown trestles to support a table, and a second set of trestles for a counter-height camp kitchen counter.
There’s several different types of furniture all called “trestle tables”; the sort we’re discussing here have separate leg units that are basically three-legged sawhorses with the table tops resting on those. See the link to Saint Thomas Guild below for all sorts of extra details, and Larsdatter has a Trestle Table page that is suffering greatly from linkrot but still has some good sources.
Friends have built up a number of trestles from 1×2 common lumberyard stock and the resulting trestles are both sturdy and forgiving to build. I used this construction method for the table height set, and then used a hybrid of this and board-built trestles for the counter-height set.
I didn’t draw up detailed plans beforehand, just worked from a set of critical measurements. I knew I wanted a set of 28″ tall table height trestles and a set of 34″ tall counter height trestles. My tabletop was going to be two 48″x16″ project boards joined on the long edge by a piano hinge for a 48″x32″ tabletop, so the rails at the top of the table height trestles are 28″ long; the counter is a single 48″x16″ project board slab so those top rails are only 14″ long.
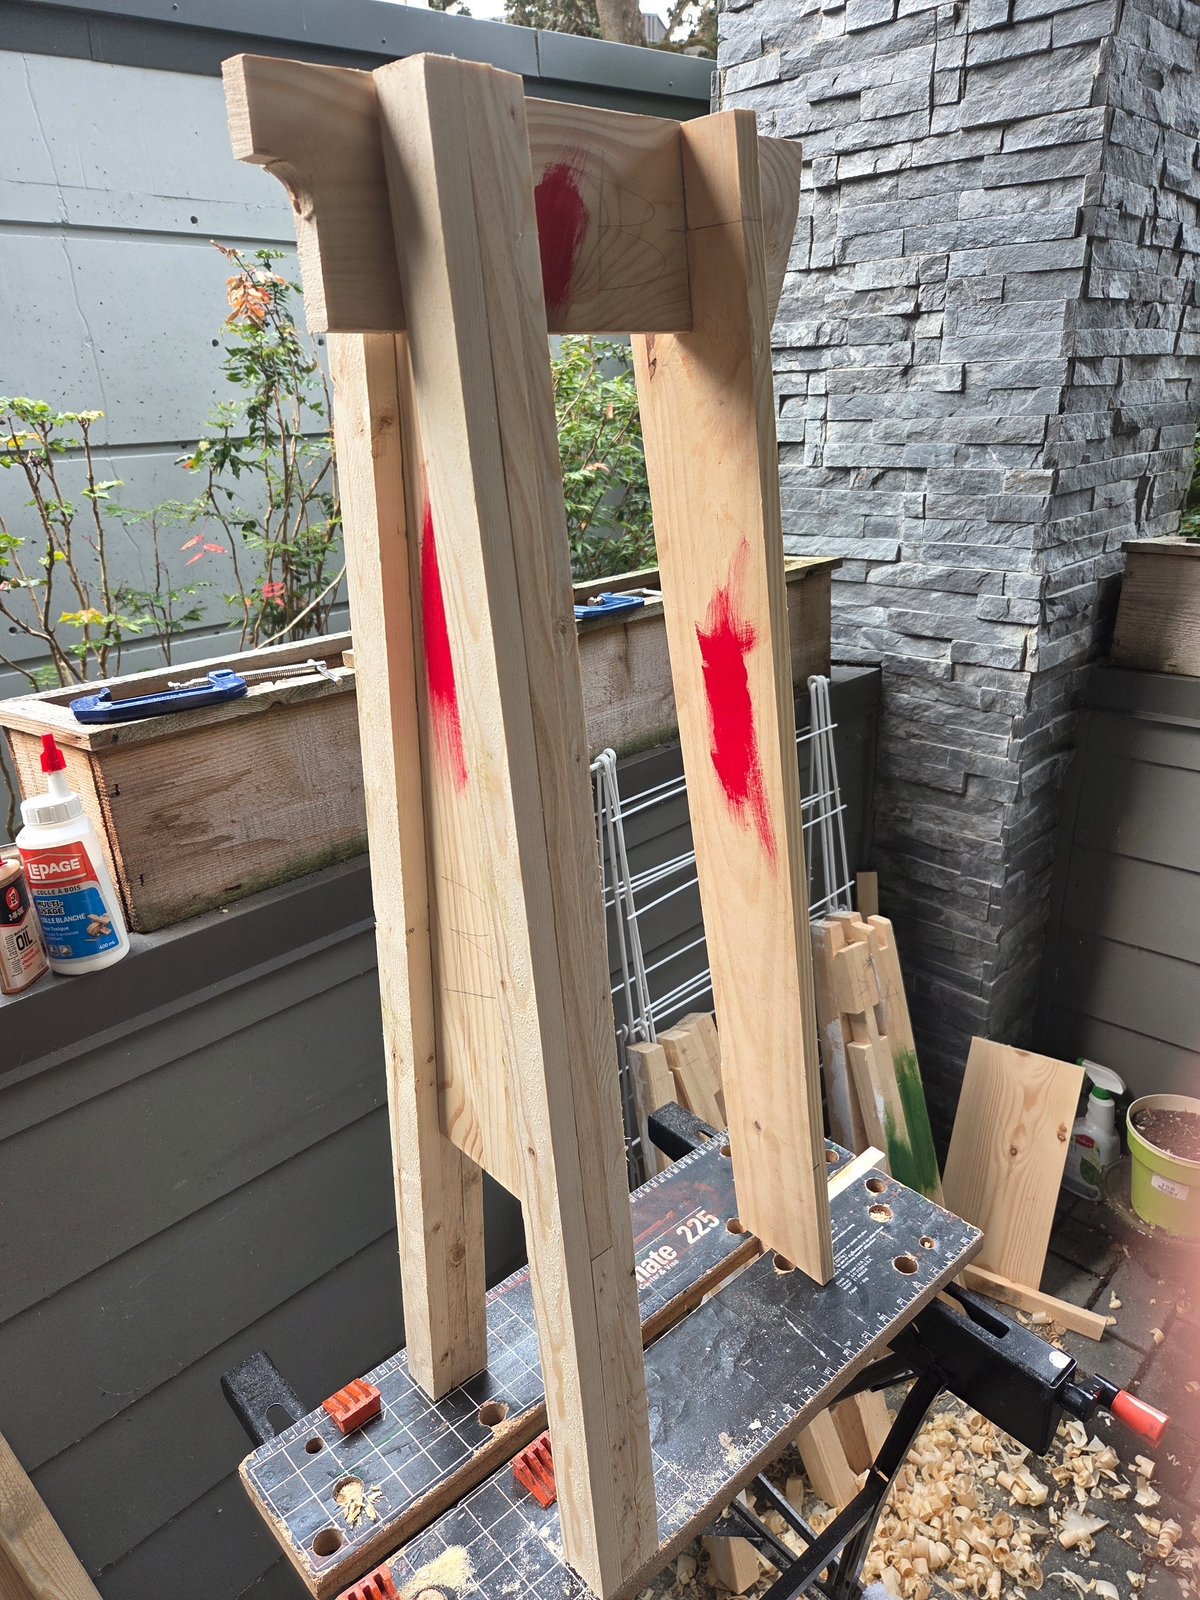
Each trestle has three parts – the top rail, a two-legged inverted triangle that I started calling the A-leg (because it looks like a capital A), and a simpler “rear” leg to form the third side of the trestle.
I decided to have the rear leg of each trestle splay outward at about 5 degrees; I set my bevel gauge to the chosen angle at the start of the project and used it for all cuts and angles, which is much easier than continually do math. This is optional – the rear leg could be vertical like the front A-leg – but does increase the stability a bit. Make sure the bottom of the angled leg doesn’t stick out past the end of the top rail so it doesn’t become a toe-stubbing trip hazard when set up.
I started the table height set first, building them up from 1×2 common lumberyard spruce stock, and a 1×8 plank for the solid part of the two A-legs.
The only power tool I bothered using was my palm sander; the rest was done with a couple of handsaws, my antique brace-and-bit drill, a set square, various clamps, and a handplane. My entire tool collection would basically fit in a single milk crate.
My “workshop” was our small condo patio, in an area about 5′ by 9′. You really do not need a fancy setup to do good, functional woodwork like this!
On all four A-legs I glued the 1×2 legs to the filler board, cut the board just outward of the 1x2s, then handplaned the whole surface flat and uniform.
Glue up of the top rail inner portion, fitted between the legs.Glue up of the top rail inner portion, fitted between the legs, different angle.Planing down the sides of an A-leg.Side of an A-leg planed smooth.
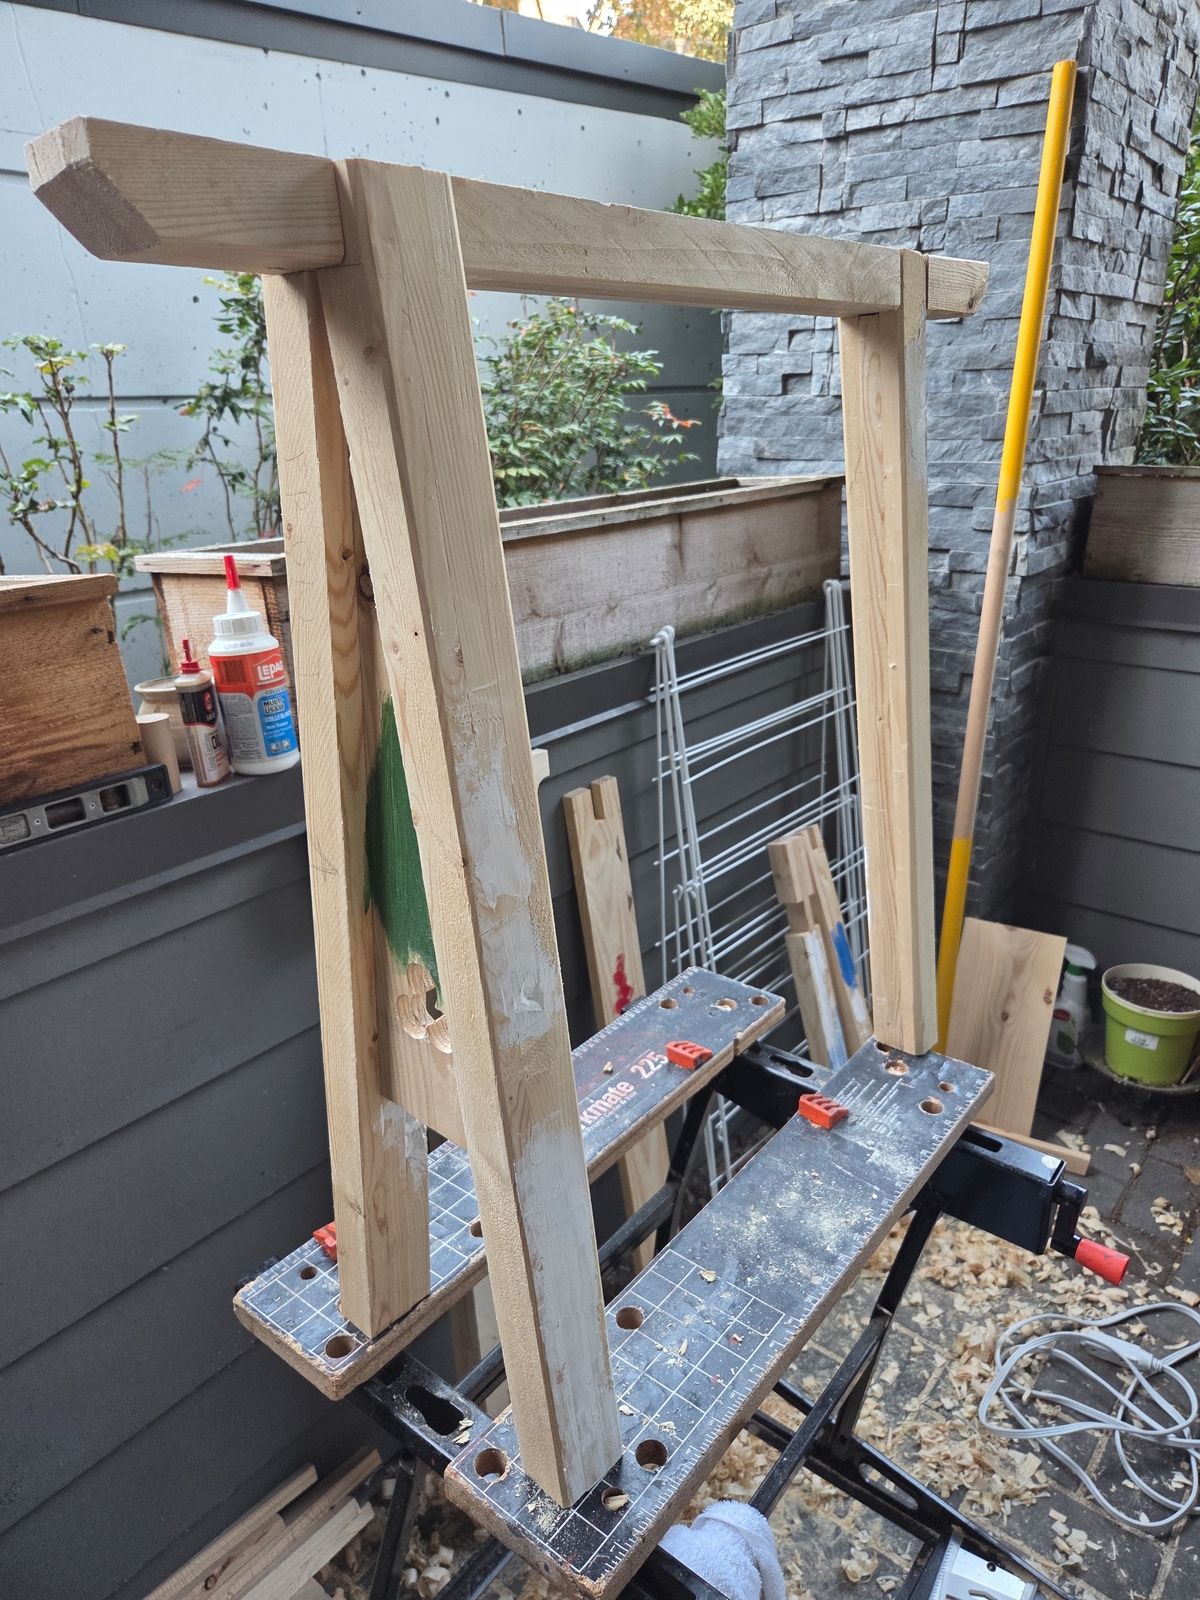
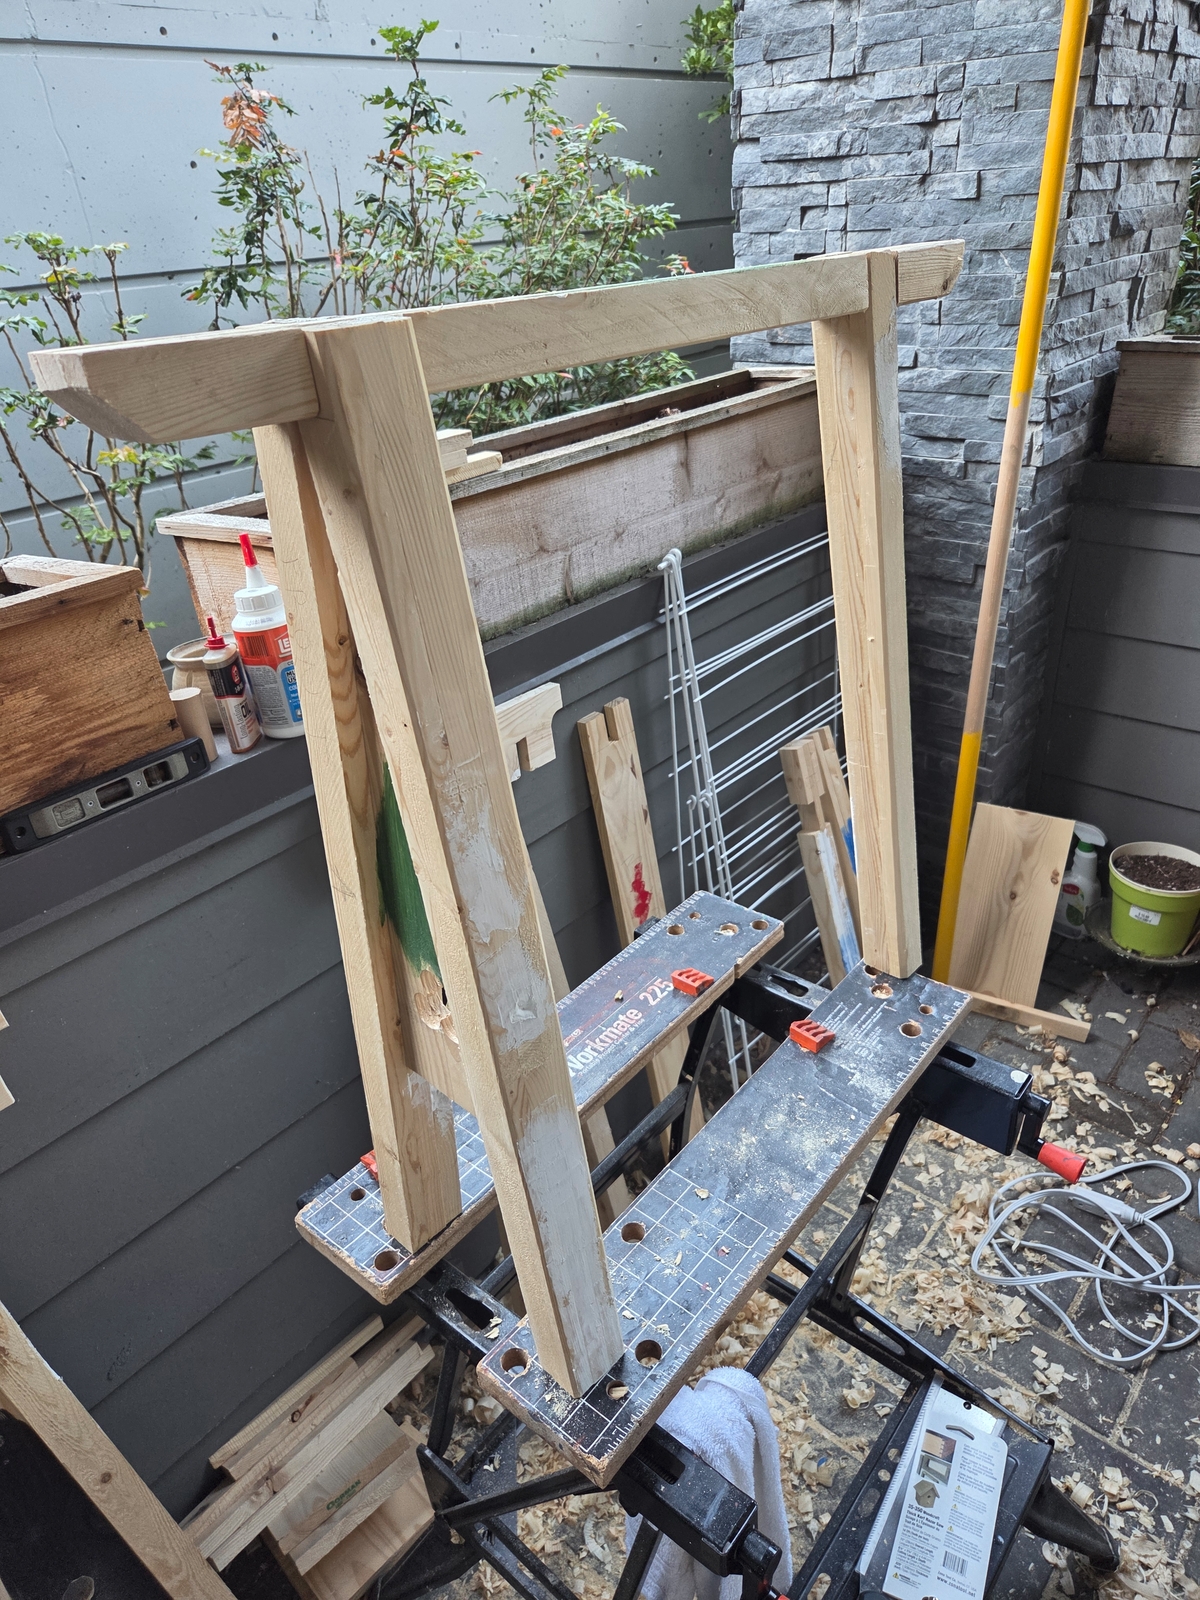
The counter-height trestles have plank rails instead of built-up 1×2 rails; these are faster to make because you don’t have to wait for glue to dry but slightly fussier, involve more chisel work to create the grooves, and (especially in cheap lumberyard softwood) aren’t as strong as the built-up rails.
One of the counter-height trestles assembled.Adding a trefoil decoration to one of the table-height A-legs.Table-height trestle assembled.Table-height trestle on my Workmate.Both table height trestles together.
As mentioned, my table- and counter-top were sections of built-up project board or shelf stock, and I had a fourth 4’x16″ piece left over that I got the board pieces for the counter height trestles from. The fillers on the A-legs and the plank rear legs were all cut from the project board.
The counter height trestles finished. A-leg in front, rear legs behind.Both counter height trestles finished. A-leg in front, rear legs behind.
Painting the Trestles
If you could afford coloured paint in the medieval European world, you used it. Brightly painted objects were a status symbol. A lot of utilitarian wood objects were likely left basically unfinished, but for modern use that isn’t practical and will massively reduce the lifespan of our pieces.
Colours in the Viking World goes into archeological evidence for colours found on wooden objects and buildings in Viking Age (early medieval) Scandinavia.
“These bright and beautiful colors were probably a status symbol and used in order to stand out from the rest, something that seems to have been common practice.” — What colors did the Vikings paint their houses?, Skjalden, October 17, 2020
Dover Castle Interior (1100s) (DDG Image Search, there does not seem to be a good single source of these images…) Part of the main keep of Dover Castle has been restored to how it might have looked when the castle was new in the late 1100s and a central point of the English realm, and a lot of the colour choices are bold, glossy, and garish to modern eyes.
I used modern acrylics for my paint, because I have them on hand and they’re easy to work with, and my colours are possibly slightly too bright and saturated, but they’re distinctive.
The colours are actually primarily functional. Each set of trestle pieces is a different main colour and the front/outward-facing face of each A-leg is painted to contrast, because these pieces mostly only fit together one way due to slight construction differences across the trestles.
Before painting, I planed off any rough patches, did some patching with modern latex wood filler on gaps and gouges, and sanded all surfaces down with 200 grit sandpaper in my palm sander – as mentioned, the only power tool used for this project.
Paint on the counter height A-legs. The three 1-inch holes were bored as decoration.Paint in progress on the blue table trestle, showing the trefoil decoration nicely.All four trestles finished.All four trestles finished, showing the height difference between the table and counter trestles nicely.Wider view of my patio workshop area and all four painted trestles.
After painting (two coats on every surface, plus some touchups as needed, especially where I needed to cover the black with red…) I put two coats of satin-finish modern acrylic varnish over everything, with extra on the bottoms and tops of the legs to really seal the end-grain of the wood up. This stuff will be used outdoors and will get moderately rained on and exposed to damp, so a good solid seal coat is not optional.
The tabletop was finished in a red-orange wood stain and edged in the same cobalt blue used on one set of legs, then a 30″ piano hinge was installed down the inner edges to make the whole thing a single unit but still easily transportable in our not-terribly-large car. The kitchen counter piece was finished with three coats of food-grade mineral oil on the top surface and had it’s edges painted red.
The tabletop after having the piano hinge installed on the underside.
The Finished Furniture
This whole project took a month of weekends and the occasional evening, and replaces a modern aluminum camping table and a plastic-and-aluminum camping counter unit. They’ll take up less space, overall, in our storage locker and our car, because individual legs and such get tucked in and around other items much more easily.
Here’s both pieces set up on the sidewalk behind our condo building, and the whole setup stacked up on the rail of our patio.
The table set up.Table underside.Table underside again.Table top view.Counter set up.Counter trestles all set up.Counter trestles again.The whole setup stacked up.The whole setup, side view.
Even on concrete both setups are nicely stable, and as we usually camp on grass, they’ll be even better there. They’re still camp furniture, they need to be used with a certain amount of respect, but honestly the same was true of the modern plastic-and-metal furniture they’re replacing. At present both the counter and table tops are just held in place by gravity; I hope to avoid having to put any battens or attachments on the undersides to help keep them in place but will if needed.
One person could almost handle the entire stack of parts and the total weight is only a slight increase over our previous modern camp furniture.
If you have any questions, please leave a comment below (comment moderation is used, it might take a bit before yours shows up!). I hope this inspires other medieval-esque furniture production and would love to hear from readers.
In Service, Baron Vémundr Syvursson (mka Brian Burger) Barony of Seagirt, Principality of Tir Righ, Kingdom of An Tir October 2025 CE/60 AS
The last number of years I’ve tried to publish my annual update mid-year, May/June, but this has been an extraordinarily busy year, especially this summer, hence the delay until the very end of September in updating my Field Only Armoury Project.
Seven new items this year as well as a number of changes of ownership, reblazons, and other updates. We have a new badge right at the start of the Sigbjorg Kaladóttir in fróða’s Argent mailly purpure, ending 277 entries later with Emrys the Wanderer’s Wolves-cut palewise inverted sable and Or.
This project was explicitly cited by at least two of this year’s new registries as inspiring them to go looking for FO armoury for themselves, so the FOAP feedback loop continues!
If you just want the new stuff, there’s a PDF for that this year.
The entire collection, all 11 pages of it, sized at 11×17 (Ledger) pages, is here. As always, it scales nicely so you should get nice legible printouts on Letter or A4 if you want physical copies!
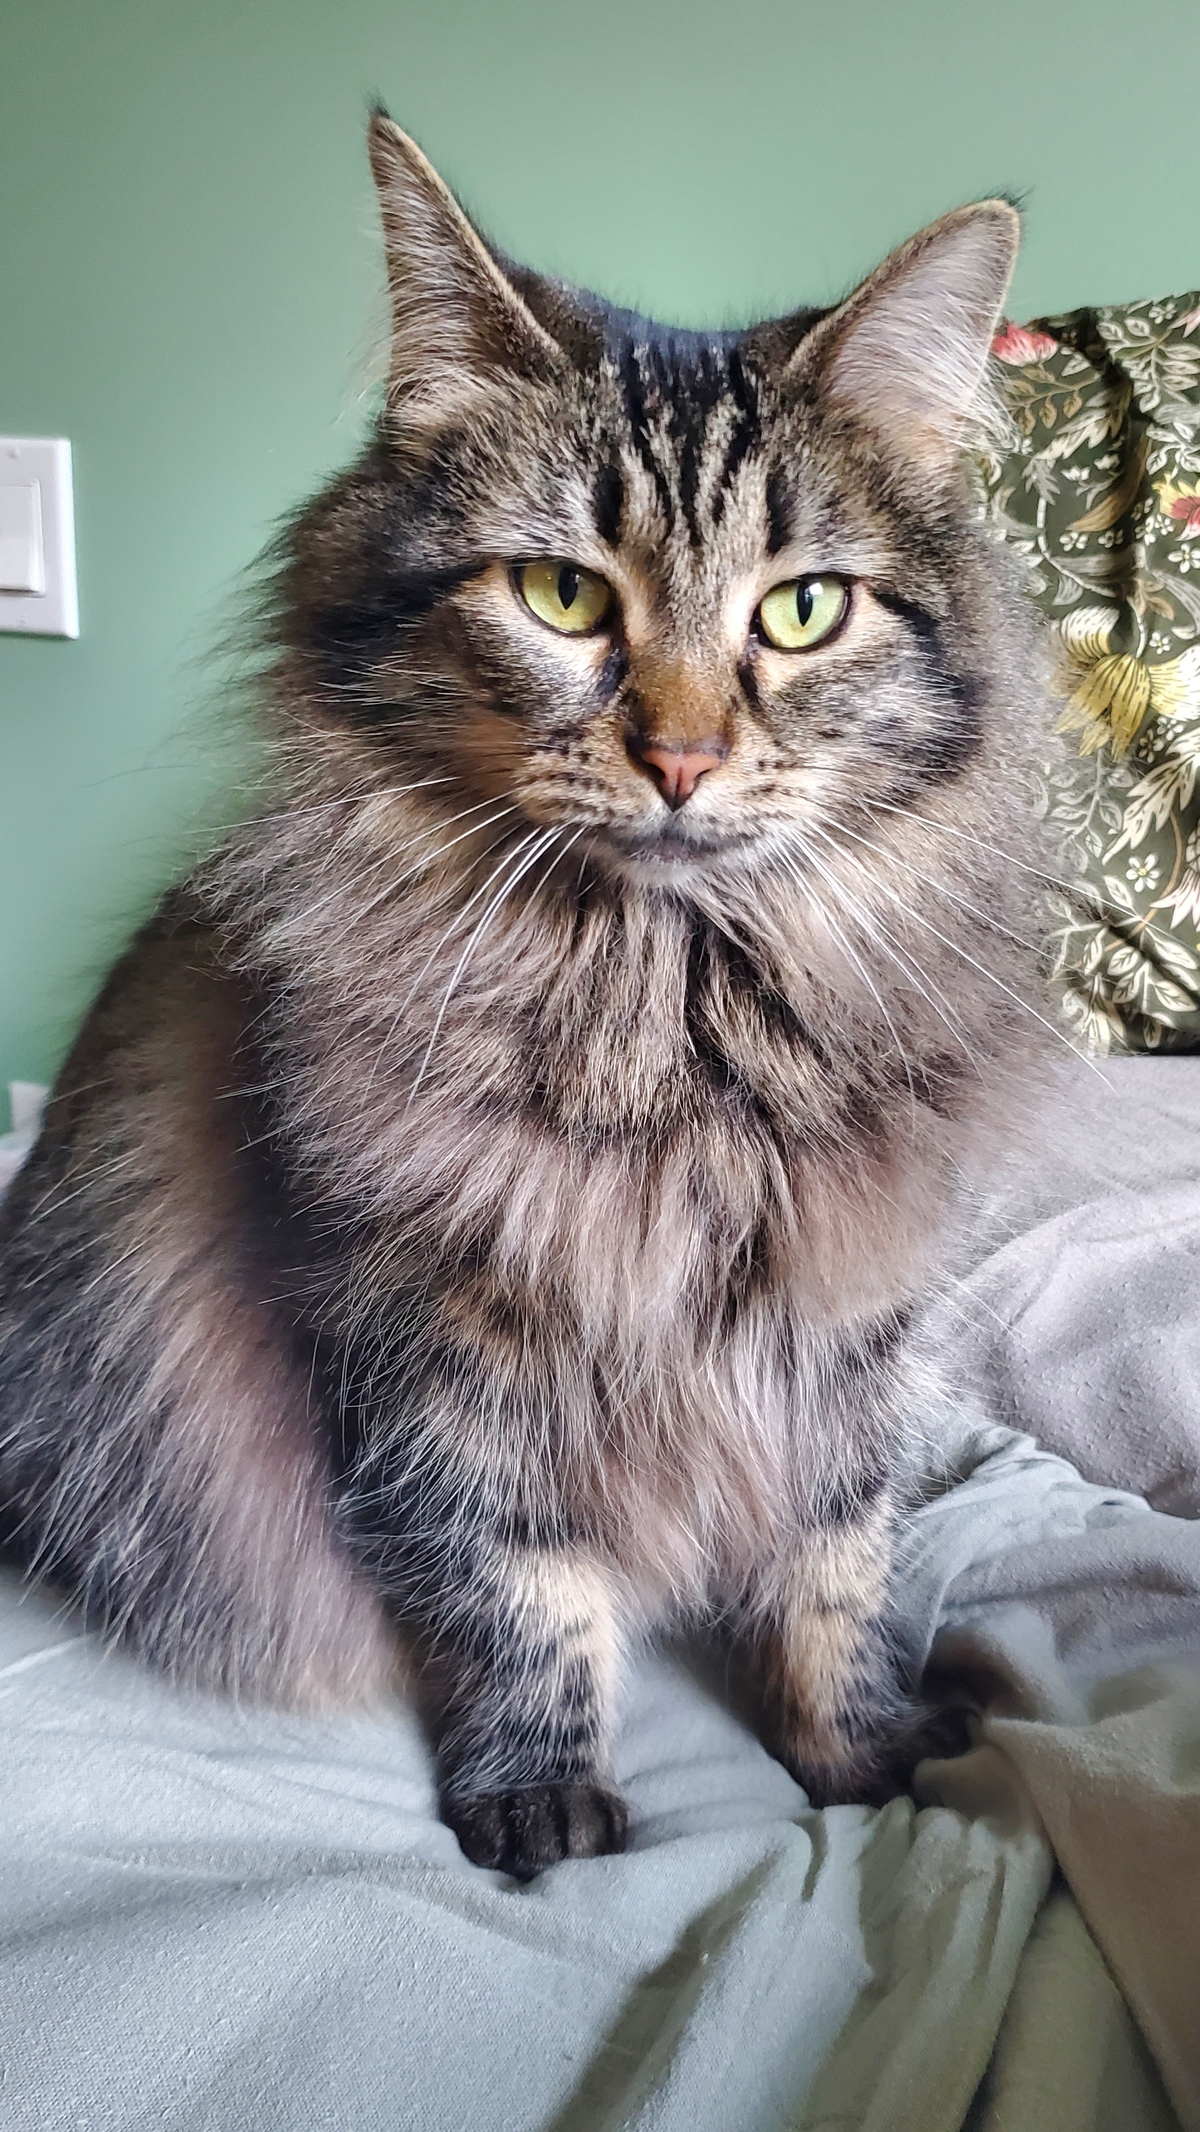
The 2024 FOAP update ended on a sombre note, dedicated to our late great Siamese who passed in May 2024 while I was finishing that update. Happily, in August we became a properly supervised household again when we brought Sophie La Floof (aka Sophie Floofenkatzen) home from a local cat rescue. She’s a fluffy delight and will be compromising my computer desk ergonomics for many years to come.
Also, in November 2024 my wife and I stepped up as Baron & Baroness of our local group, the Barony of Seagirt, which is part of why our summer was so very busy! It’s been a fantastic first ten months and we’re looking forward to the next few years as Landed.
In Service to the Dream, Baron Vémundr Syvursson Barony of Seagirt, Principality of Tir Righ, Kingdom of An Tir Pily barry argent and azure
Sophie, looking maximally floofy in mid-winter, earlier in 2025.
The 2024 update to my Field Only Armoury Project is done! This update incorporates everything up to the April 2024 LoAR.
We’re up to 270 registrations of devices & badges, starting with Fridha av Bergen’s Argent masoned azure and ending with Emrys the Wanderer’s Wolves-cut palewise inverted sable and Or, a new entry for this year as a result of being re-classified.
For those of you new to the FOAP, this started back in 2017 with me wanting to get better at both blazon (the language used to describe herald things) and emblazon (the art of depicting heraldic things) and as this is now the sixth annual update of the project, it’s fair to say the Project is firmly a thing in it’s own right. I get contacted by people from around the SCA about it fairly regularly, and it’s inspired some very cool heraldry… which then gets documented in the FOAP, so it’s a nice feedback loop!
Here’s the 11 page PDF, laid out on 11″x17″ pages (North American Ledger size paper). It scales down nicely to print on Letter or A4, though.
I don’t have a “just this year’s updates” PDF for you this year, I’m afraid. I do have the usual sources ZIP file, though, including the Excel working file, the SVG working file, and a short readme Text file.
Thanks as always to the folks who provide feedback and encouragement for this project, and extra shoutout to Mathghamhain Ua Ruadháin of East Kingdom, host of the essential HeraldicArt.org site, not only for his amazing website but for his continuing personal interest in this weird heraldic project of mine.
In Heraldic Service, Vémundr Syvursson Barony of Seagirt, Principality of Tir Righ, Kingdom of An Tir Pily barry argent and azure
This edition of the Field Only Armoury Project goes out dedicated to our late, great Siamese, Evil Kitteh, who finally passed at the grand old age of “somewhere around 19” a few weeks ago while I was beginning the 2024 update, after many years of being an entire ergonomic disaster while I was on the computer and otherwise ruling our house with an iron paw.
Evil Kitteh, contributing to this project and my continuing posture problems. c.2005 – June 2024. Rest in catnip-soaked power, our much-missed furry terror.